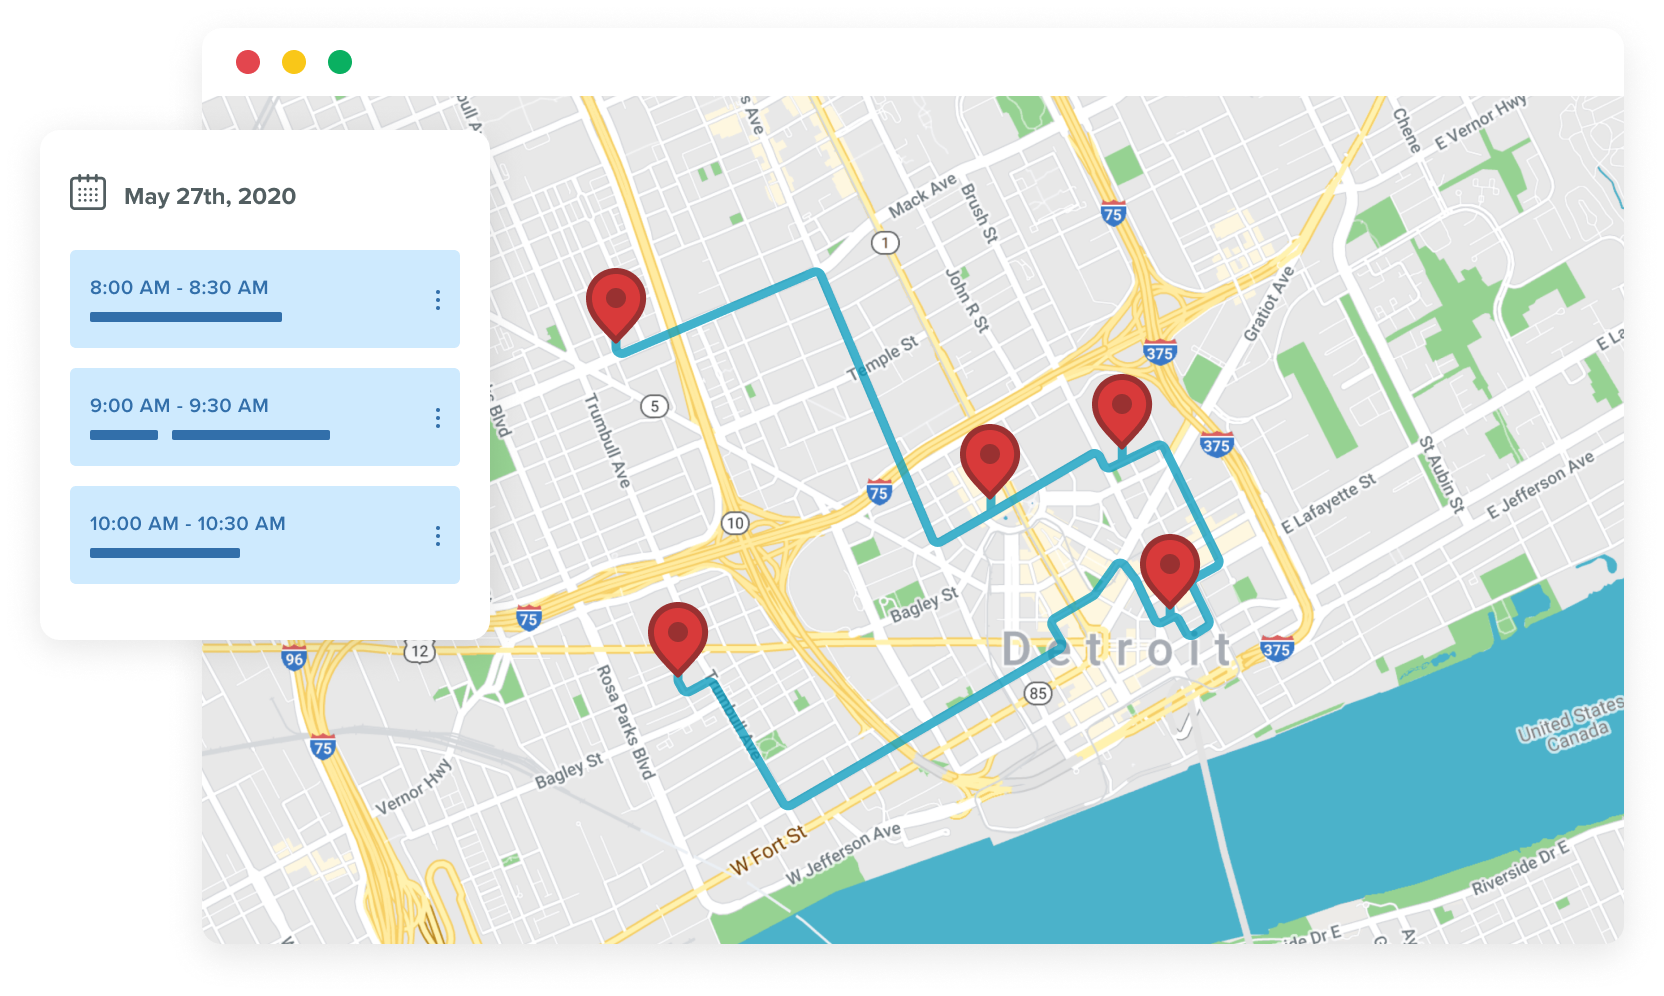
• Schedule trips and optimize routes
• Check-in and log meeting notes
• Fill in meeting cancellations
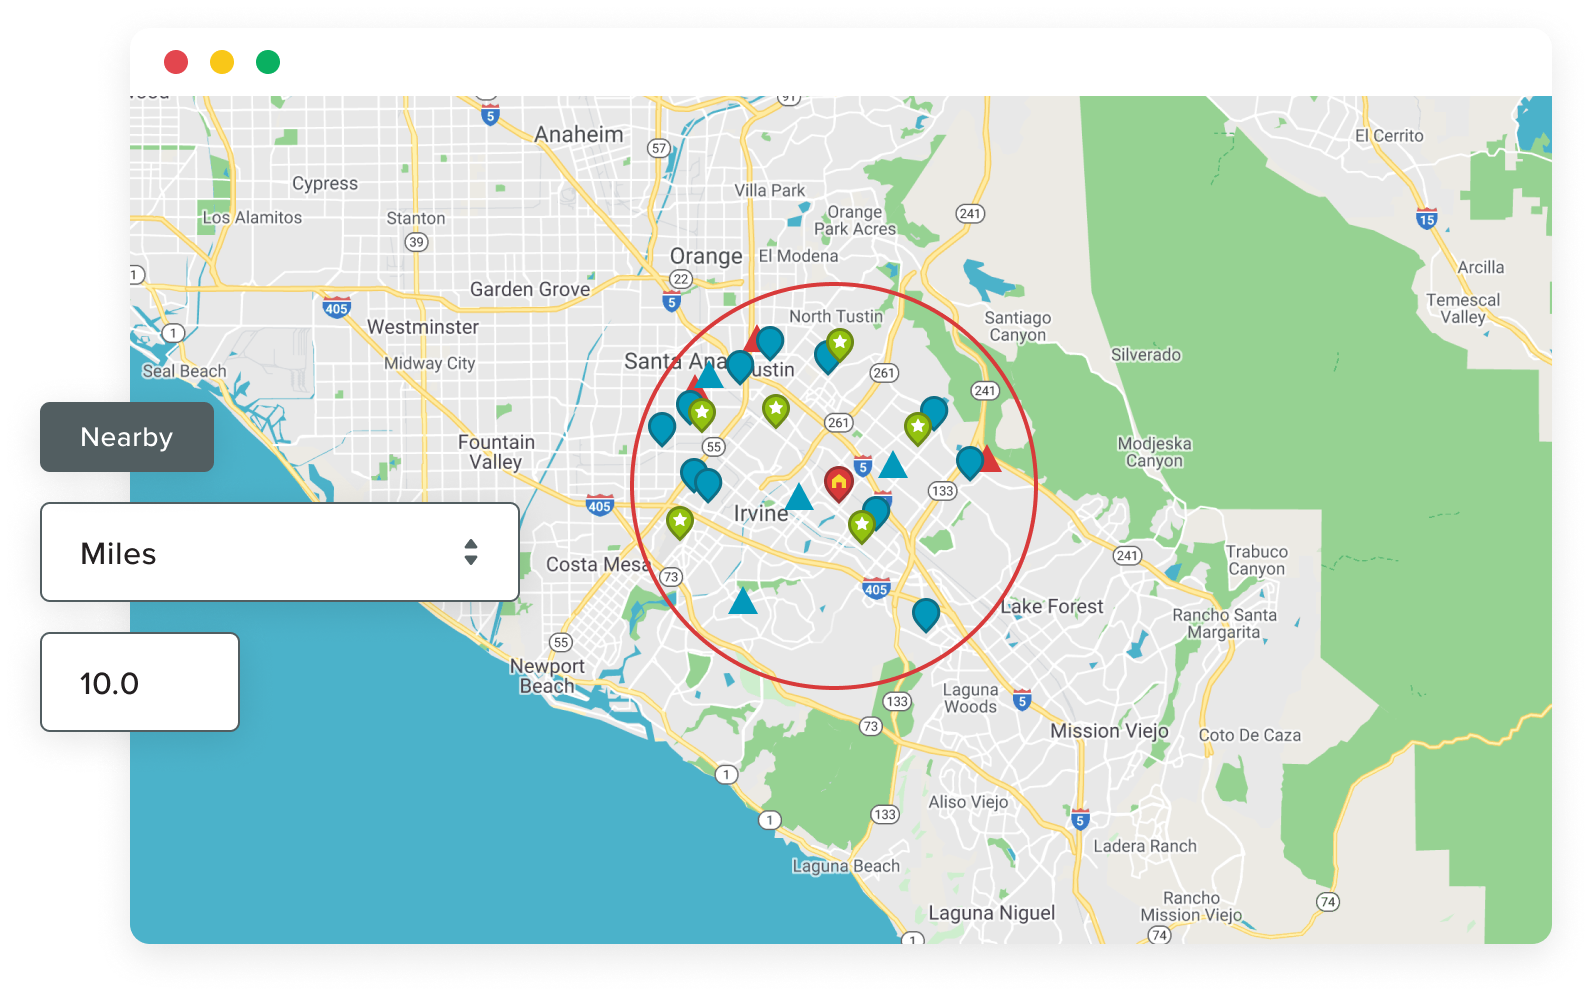
• Geographic searching and data analysis
• Territory management
• Mass update records
Learn More
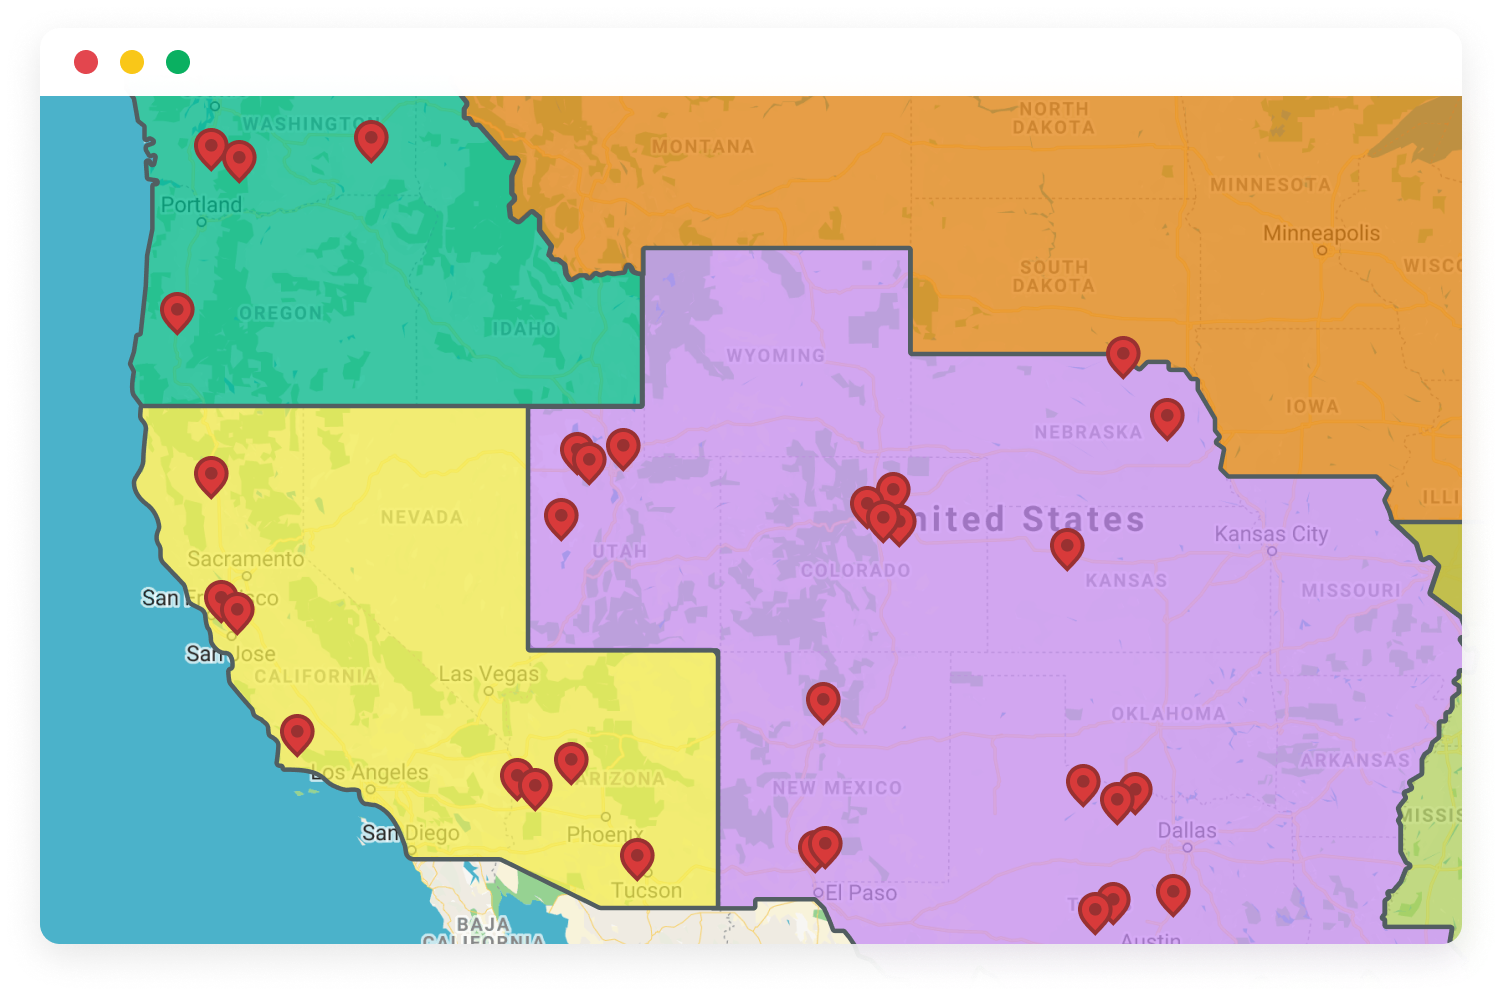
• Thematic maps for strategic planning
• Geographic searching and data analysis
• Interactive charts
Learn More

• Create geographically targeted campaigns
• Find optimal event venue locations
• Campaign results analysis
Learn More